


Join us as we develop our TV and streaming shows. Whether you're new at homesteading, an old hand at it, raising a few chickens and vegetables, or working to get your family prepared for the next emergency,visit here for information from home to garden, emergency prep and all in-between.For the Country or Urban Homesteader or Micro Agriculture food gardener, no matter where you live. Part of the "Cattle Call Productions" family.

Well, I have just had an offer accepted on an historic old Florida home for The New Century Homesteader. So, if all goes as planned THIS TIME...stay tuned!
Pics to be posted soon.
I will be posting the author's drafts of each chapter of "Practical Prepping at Home" for Patrons on Patreon! Be the first to get a sneak preview of the book as I write it as I publish my author's drafts for Patrons to download and read. Patrons will then be able to download the entire e-book a week before it goes out to the general public.
Check out "The New Century Homesteader" on Patreon and enjoy the first look at this handy new guide as I create it, and get insights as to the thought process of creating book content when you choose to become a Patron.

There has, sadly, been a glitch in getting "The New Century Homesteader" show up and running. I lost the location that I was going to purchase, and now I am having to start over, which isn't as easy as it might seem.
Hopefully, this will just be a very short glitch and will be back on track very, very soon. Meanwhile, I am looking for on or two people who can find sponsors and advertisers. This is commission only to start, but I hope that will change within the year. The work will be on going.
Anyone interested, please contact me direct at thenewcenturyhomesteader@gmail.com

I was able to get some fresh pigskin at a local market, so I decided to make Chicharrones.
I started by boiling the skins till they were soft and pretty fragile. This would make it easier to scrape any fat off. Once the skins were boiled (at least an hour), I CAREFULLY (because at this stage they will easily tear) removed them from the pot and put them on a cookie sheet. I then refrigerated overnight. (I boiled these mid day.) Refrigeration makes the fat removal much easier that it would be right out of the pot. The next day, using a spoon, I scraped all of the fat from the skin. (Above) Sometimes there is a small bit of fat on the edges that doesn't want to come off. When that happens, just trim that edge off. You MUST remove all the fat before the skin goes into dehydration.

Once I completer the fat removal from the skins (above), they were ready for the dehydrator.

If necessary, cut skin into manageable pieces that will fit into the dehydrator. Then, 167 degrees for about 16 hours. ALL of the moisture must be removed from the skin or it will not fry properly later on.

After 16 hours, you will end up with......pieces of "pork plastic", which is how I refer to the dehydrated skins. At this time, you can break the "pork plastic" into smaller pieces to either store or cook right away.

Cooking them up is easy!!!! Take canola oil to 400 degrees (my oil was slightly higher, but worked fine) and CAREFULLY drop a few pieces at a time into the oil. within seconds, it will puff right up. I get little to no splash back when putting the pieces in the hot oil, because there is no moisture in the pieces. When done (about 15 or 20 seconds) put on paper or in a bowl, and season with your favorite kind of seasoning, or even just salt and pepper.

To Store Unused Pieces- You MUST keep moisture out. I have double bagged in freezer bags and put into the fridge for a few days. It has worked fine for me. However, I have also been told that another good way to store in the fridge for a while is vacuum packing. I have just tried this method, to see how it goes. If vacuum packed, I have also been told you can freeze for long term storage. I need to try this method. I haven't as yet as mine never lasted that long to have to worry about long term storage!

I guess you might say that ribs with one of my homemade sauces is my specialty. This sweet but oh so slightly spiced sauce, a recipe that I developed and also use as a base for others, is probably my favorite to use. It gives the meat a not too sweet, but delicious...sticky...delectable, coating. I use my sauces both on the grill and in the oven.
But BBQ sauce isn't just for the BBQ.....Oh No! Try your favorite sauce as a condiment for your burgers, hot dogs, chops, fries or onion rings! It's a great substitute for ketchup! And if a store bought sauce isn't spicy enough for you, just kick it up a bit by mixing in your favorite hot sauce...to taste of course. Like it a bit more vinegary? Mix in some of your favorite vinegar. I think you see where this is all going.
If you are on Instagram, please follow me at @newcenturyhomesteader and @restorationkitchen_
(and don't forget the little drop _ after Restoration Kitchen. Otherwise, it won't be me!)

So....what do you think the "Dish of the Day" is? Hints........It is not tortilla chips nor is it pita chips.....
You may chat amongst yourselves and leave your thoughts before I reveal the answer!
Have Fun!!!
I'm working on the "Practical Prepping At Home" book, as we speak! Geared for the average home and family, "Practical Prepping..." shows how to keep yourself prepared for most common emergencies and other down times.
Check out the Practical Prepping At Home website to learn more about the book and how it will be available!

If your company is interested in advertising in "Practical Prepping At Home", drop me a message.
Getting the gel out of the aloe leaves is really not a difficult task. Just time consuming and repetitive, if you are harvesting multiple plants instead of just one or two individual leaves.
Step 1. Cut larger leaf from aloe, leaving the smaller ones to develop further. Wash any soil off. This leaf could have been a bit larger, but as this was from one of the whole plants that we harvested, this was actually one of the larger leaves on this plant.
Check for resin in the leaf. This is done by allowing the leaf to stand
upright for 10-15 minutes in a cup. The resin has a yellowish look to it and will drain out into the cup. The resin should be drained, as it contains latex, which can be an irritant.

Step 2. Cut off both ends of the aloe. You can either put these aside to use later or throw away.

Step 3. Remove the spines from each side of the leaf. While this may seem like an unnecessary step, since you will only be removing the gel, removal of the spines does two things......keeps you from stabbing your finger while stripping the leaf (the spines can get into fingers like a splinter), and makes it easier to filet the top off of the leaf.

Step 4. Remove the thin green skin from the top side of the aloe leaf. It is similar to filleting one side of a fish. If you have ever done that....you can easily do this. If not, it won't take long to catch on.

Step 5. After the thin green skin is removed, the gel is now exposed.

Step 6. Using a spoon or the edge of your knife (carefully, so that you don't dig into the skin underneath or cut yourself), pull the gel off of the aloe leaf. It should come off VERY easily, albeit maybe a little messy.

Step 7. The gel removed. Cut up into pieces and refrigerate until needed. If you want the gel more liquefied, you can put it in a blender or mash till liquefied. Because the fresh aloe can have a short shelf life in the fridge, you should only do as many leaves as you think you might use in a week. If, like I am, you are having to harvest entire plants, the gel can be frozen. I would use ice cube trays to do the initial freezing, then when frozen, remove from the trays, place the frozen cubes in a bag or container. Do this quickly, so that the pieces stay frozen. That way, you can go into the freezer and pull out only the pieces you need at the time.

I have just installed a live chat box below, on the left hand margin! Be kind, don't spam, don't swear (we have all ages here), ask questions, share information and have fun!!!
The aloe had gotten out of control. It was just too much. So, yesterday was harvest day, and yes, entire plants were removed! 🙈 But the plants that remain are much happier for the space. I did save about 10 plants to put elsewhere. What is here in the picture, is what I won't be keeping. They won't go to waste. I will be harvesting the gel out of the plants then freezing. I will be posting how I am doing it, so stay tuned!

Although it has been cold, I have been able to do some planting here in SW Florida. Today, I put in a Coffee bush and a fig tree in for my mom at her house. These plants can both be found all over the country, and can be planted even in cold areas, although how you do it, will depend on where you live.
Coffee, although a fun plant to think about having, is a tricky one. Of course, anywhere it is cold and actually has a winter, you can't plant it outdoors in the ground. However they can be in a container. I have found, however, that when potted, they are a super fussy plant, and don't like to be moved from spot to spot. So if using it as a house plant, I would suggest to find a spot that it likes and leave it there. I found out the hard way.
The fig also can be found all over the country, but you will need to do some research as to the best one for your area. I have seen many figs successfully grown in the north in containers. They go outside in the late spring, summer till early fall, then brought indoors for the winter. My Dad said that when he was a kid in NYC, one of his uncles planted a fig tree outdoors, but wrapped it every winter in burlap to protect it against the elements, and was quite successful with it.
A really nice thing about the fig, is that it easily starts from cuttings. So if you know anyone who has a fig tree, see if you can get a cutting, at least 8". I had success in starting cuttings by just sticking them in a pot full of soil, putting a soda bottle (with the bottom cut off) over the top of it, using it like a small greenhouse, and letting it do its thing. It was a pretty much "never fail" technique for me. Once established and rooting, you can then put into a larger pot as it grows or plant the fig in the garden or yard. (As soon as I find my photos, I will add to the page!)
Coffee

Fig

Well, I found an interesting little glitch on the blog today. Comments appeared. They appeared from a few years ago to just recent. Now, any time I would check the comment section to tell me how many comments were there, it always read zero. All of a sudden today, there was a number, AND there were, in fact, comments.
Where they were all this time, why they didn't register and appear before now.....I don't know. But leave it to me to have the strange things happening. Anyway, hopefully this means that now comments will actually register in real time, and not a year or two later. And maybe now, I will actually be able to see them and answer your questions. And if you are one who did ask a question, I am soooo sorry I didn't get it at the time.
So now, let's get this show on the road and get the comment section to stay working!!!!
So I began by toasting my pickling spices until I could smell them....but not burn them. I then added 4+ cups of white vinegar, about 4 cups of sugar and a cup of water. Of course, you can do this to taste OR use your favorite pickle brine...sweet or savory.
While the sugar was melting, I broke apart the florets into bite sized pieces, cut the sweet onion into bite sized pieces, and put in a layer of cauliflower then a layer of onion and olive. I continue the pattern till all was gone. I then poked in 3 leaves from my allspice trees (optional) and also poked in a few baby carrots I had found in the fridge.
Next, pour the pickling mixture over the veggies. And that was it. I wanted to make sure everything was covered, but because the veggies kept floating up, I took a heavy plastic ramekin, set it on top of the veg, put some brine in it to give it some weight, and that kept everything from floating to the top. Place the cover on the jar and let sit in the fridge for at least 1-2 weeks. When ready to eat, the ramekin can be removed (you won't need it at that point.)
Because these are one offs, and I put the jar directly in the fridge when it cooled, I did not need to go through the canning process, except for the clean jar. If you plan on just putting your jar on the shelf, then you will need to go through the full canning process, for safety.


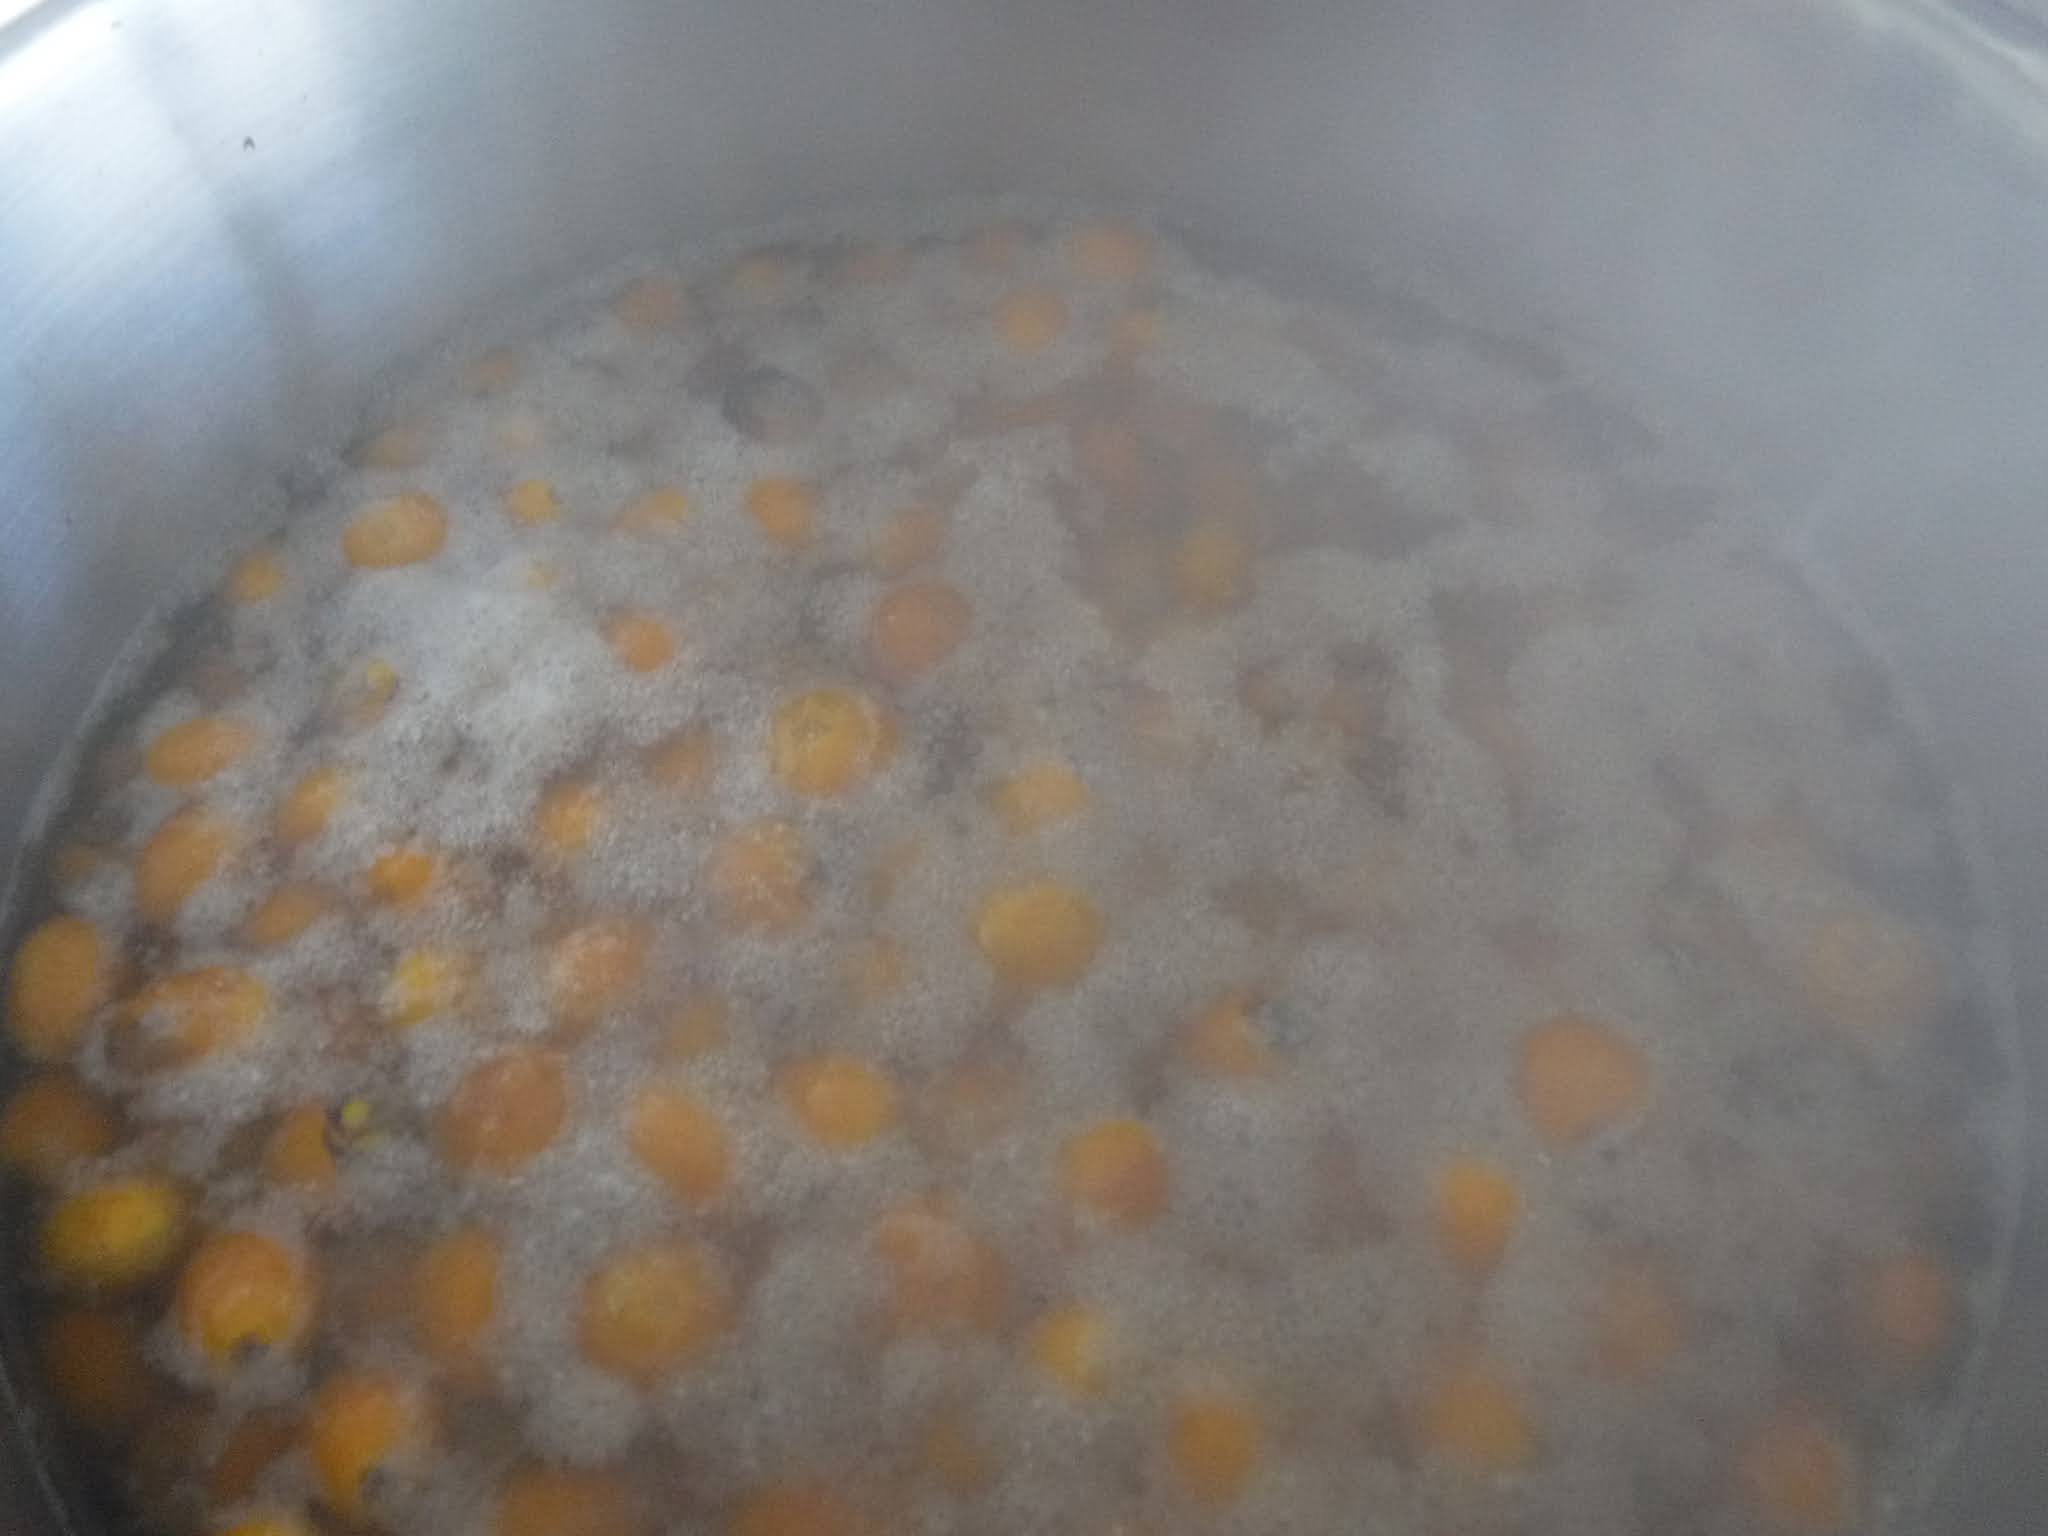
After you have placed the rinsed palm berries in a pot and covered with water (at least 1 or 2 inches over the berries), place on medium high heat. Bring to a boil, then turn the heat down to a simmer. (If at any time before the boil, water drops below the top berries, add just enough additional water to keep berries covered.) Let berries simmer for at least one hour or until the liquid thickens. White foam will congregate on the top and should be removed as it forms. Thicker than water, but not as thick as a syrup. The berries can sit longer than an hour, if thickness isn't where you want it.
When the liquid is at the desired thickness, allow to cool in the pot....berries and all. (Berries will be TOO HOT to handle at this point.) When sufficiently cooled, strain liquid and place in a clean container. The liquid may be frozen until ready to use. However, remember to leave sufficient space at the top of your container to allow for expansion during freezing.
Recipes will follow in additional postings.
NOTE- BEFORE YOU COOK UP ANY PALM BERRIES, MAKE SURE THEY ARE EDIBLE. FOR EXAMPLE, QUEEN AND CHRISTMAS PALM BERRIES ARE GOOD, BUT THOSE NICE, BIG FOX PALM BERRIES ARE TOXIC!!! DO YOUR RESEARCH!
Pour into CLEAN container, leaving sufficient space at the top for expansion if freezing.

Cool and drain.


White foam can easily be skimmed off using a spoon.
I decided to try my hand at making wine vinegar. I grabbed a bottle from my parent's stash...a bottle that they didn't particularly care for, and began the process. From my experience, here in Florida anyway, it is best to do this when the weather is cool. Otherwise, you risk mold. (Yes...it happened to me. I tried to make another batch late summer, and ended up with a moldy mix within a few weeks.)
In a non reactive bowl, add your wine and a little vinegar. I used organic apple cider vinegar.


Stir the vinegar and wine mixture. Then loosely cover with a clean towel. Continue to stir twice a day. After a few weeks, maybe sooner, depending on conditions, the mixture should begin to ferment and begin the process of changing into vinegar. Monitor daily.


When the scent and taste is where you want it, bottle in a CLEAN bottle. I kept the bottle the wine came in, removed the labels and thoroughly cleaned.

Yep! We're back after a long hiatus, and have some fun and exciting news! I am creating a pilot for "The New Century Homesteader" AND I am creating a streaming series as well called "The New Century Homesteader....Behind the Scenes". While the show will be basing out of Florida, there will be something for everyone....no matter where in the world you live!
Both here and on the shows, you will learn urban and backyard gardening basics, container farming, various types of food preservation, DIY home projects and repairs, practical prepping for everyone, home and garden hacks, and the stories of others who do the same.
So join in for the fun! And watch this blog for new articles as well as updates. And if you would like to help, you can visit the "Go fund Me" page @ www..com/f/newcenturyhomesteader-tv
